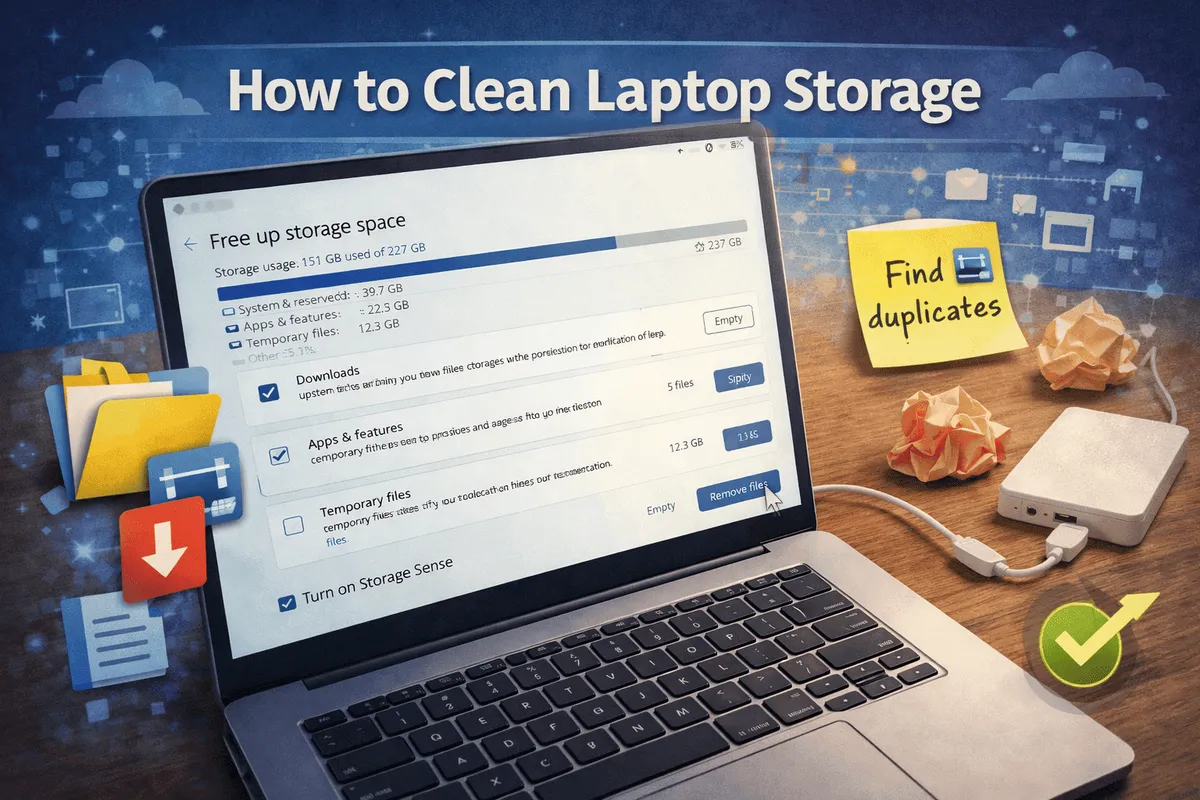
How to Clean Laptop Storage
A full laptop storage can cause everything from slow performance to failed software updates. When your drive runs out of space, your operating system struggles to create temporary files, manage virtual memory, and install critical updates. Learning how to clean laptop storage is one of the most effective maintenance tasks you can perform to keep your machine running smoothly.
The process does not require technical expertise or expensive tools. With a systematic approach, you can free up gigabytes of space in under an hour. This step-by-step guide covers both Windows and Mac methods so you can clean laptop storage regardless of which operating system you use.
Why Laptop Storage Fills Up So Quickly
Storage does not fill up overnight. It happens gradually through everyday use. Downloads you forget about, applications you installed once and never opened again, temporary files created by your operating system, duplicate files from copying and backing up, and old system update files all accumulate over time.
The real problem is that most of these files are invisible to the average user. You do not see them in your daily workflow, but they quietly consume precious storage space. Understanding where your space is going is the first step to learning how to clean laptop storage effectively.
Step 1: Check What Is Using Your Storage
Before deleting anything, you need to understand where your storage space is going. Both Windows and Mac provide built-in tools that show you a breakdown of storage usage by category.
On Windows: Go to Settings > System > Storage to see a visual breakdown of how your storage is being used. You will see categories like Apps, Documents, System, Temporary Files, and more. Click on any category to see specific details.
On Mac: Click the Apple menu and select About This Mac > Storage. This shows a similar breakdown with categories for Applications, Documents, System, and other data.
This quick overview tells you exactly where to focus your cleanup efforts. Sometimes one category is significantly larger than expected, revealing the biggest opportunities to clean laptop storage space.
Step 2: Clean the Downloads Folder First
The Downloads folder is the biggest win for most people. It is where your browser saves every file you download, and it quickly becomes a graveyard of old installers, PDFs, images, and documents you no longer need.
Open your Downloads folder and sort files by size. This makes the largest files immediately visible. Delete anything you do not actively need. For most users, this single step frees up several gigabytes of space and is the fastest way to clean laptop storage.
A helpful tip: sort by "Date Modified" as well to identify files you downloaded months ago and have not touched since. If you have not opened a file in six months, you probably do not need it on your laptop.
Step 3: Remove Applications You Do Not Use
Applications pile up faster than you realize. Free trials, software you tried once, games you completed, and tools you replaced with alternatives all take up storage space. Some applications are surprisingly large, and removing even a few can free up significant space.
On Windows: Go to Settings > Apps > Installed Apps. Sort by size to identify the largest applications. Uninstall anything you have not used in the past few months.
On Mac: Open the Applications folder and drag unused apps to the Trash. Some apps include their own uninstallers for a more complete removal.
Removing unused applications is one of the most impactful ways to clean laptop storage because applications often include large supporting files, caches, and preferences that take up much more space than the initial installation.
Step 4: Clear Temporary Files and System Cache
Your operating system constantly creates temporary files for various operations. Browser cache, system logs, Windows Update leftovers, and application caches accumulate silently in the background. These files serve no long-term purpose and can be safely deleted.
On Windows: Use the Disk Cleanup tool (search for "Disk Cleanup" in the Start menu) or go to Settings > System > Storage > Temporary Files to see and delete temporary files. Check "Clean up system files" for access to old Windows Update files that can take up many gigabytes. Microsoft also explains how Storage Sense works.
On Mac: Go to Apple Menu > About This Mac > Storage > Manage to access optimization tools including storage recommendations and the option to reduce clutter. See Apple's official storage recommendations for more details.
This step requires almost no effort but can free up substantial space. It is a critical part of learning how to clean laptop storage on a regular basis.
Step 5: Find and Remove Duplicate Files
Duplicates happen more often than you think. Downloading the same file multiple times, copying files between folders for backup, and syncing files across applications all create duplicates. Over time, these can consume several gigabytes of wasted space.
You can check manually by browsing through your folders, but dedicated duplicate finder tools make this process much faster. Applications like DupeGuru (free and open source) scan your entire drive and present a list of duplicate files for you to review and delete.
Be careful to review the results before deleting. Make sure you are not removing files that are legitimately in multiple locations for a reason. When done carefully, removing duplicates is one of the most satisfying ways to clean laptop storage.
Step 6: Move Large Files to External or Cloud Storage
If you do not want to delete files, consider moving them off your laptop entirely. Photos, videos, and large project files are the biggest storage consumers for most users, and they do not need to live on your laptop's internal drive.
Options for moving files include:
External hard drive: Affordable and provides a physical backup of your files
USB flash drive: Portable and convenient for smaller file collections
Cloud storage: Google Drive, Dropbox, and OneDrive all offer free tiers with enough space for most users
Moving photos and videos to external storage is particularly effective because these files tend to be the largest items on your drive. This strategy can free up tens of gigabytes while keeping your files accessible. For a safer backup plan, follow our guide on backing up data to Google Drive.
Step 7: Empty the Recycle Bin or Trash
This step sounds obvious, but many people forget it entirely. When you delete files, they do not disappear immediately. They sit in the Recycle Bin (Windows) or Trash (Mac) until you empty it. Those "deleted" files are still taking up storage space.
Right-click the Recycle Bin icon on your desktop and select "Empty Recycle Bin." On Mac, open the Trash and click "Empty Trash." This quick action can instantly free up gigabytes of space that you thought was already reclaimed.
Step 8: Clean Up Your Desktop and Other Cluttered Areas
Your desktop, if cluttered with files, can slow down your system slightly because Windows renders each file as an icon. More importantly, a messy desktop often indicates scattered files across your system that should be organized or deleted.
Move desktop files into appropriate folders, delete what you no longer need, and create a simple organizational system. Even a quick desktop cleanup contributes to the overall effort to clean laptop storage and makes your laptop feel more organized.
Step 9: Set Up Automatic Maintenance
Once you have cleared space, the trick is keeping it that way. Establish simple habits that prevent storage from filling up again:
Delete files immediately after you finish using them
Do not let the Downloads folder accumulate unchecked
Move large files to external storage as soon as possible
Schedule a monthly 15-minute cleanup session
Enable Storage Sense on Windows 11 to automatically clean temporary files
These small habits take minutes to maintain and save hours of cleanup work later. Regular maintenance is the key to keeping your laptop running smoothly.
Signs Your Laptop Storage Is Too Full
If you are not sure whether you need to clean laptop storage, watch for these warning signs:
Your laptop feels noticeably slower than usual
Applications take longer to open and respond
You receive "storage almost full" warnings
Windows or macOS updates fail to install
You cannot save new files or download anything
Your web browser crashes or behaves erratically
If any of these symptoms sound familiar, it is time to take action. The longer you wait, the worse the performance problems become.
Frequently Asked Questions
How much free storage should I keep on my laptop?
For optimal performance, keep at least 15-20% of your total storage free. If you have a 256GB drive, aim to keep at least 40-50GB available. Running low on storage can slow down your system significantly because Windows and macOS need free space for virtual memory and temporary files.
Will cleaning my laptop storage speed it up?
Yes, especially if your storage was nearly full. When your drive has less than 10% free space, the operating system struggles to manage virtual memory and temporary files, which causes noticeable slowdowns. Freeing up space restores normal performance and can make your laptop feel significantly faster.