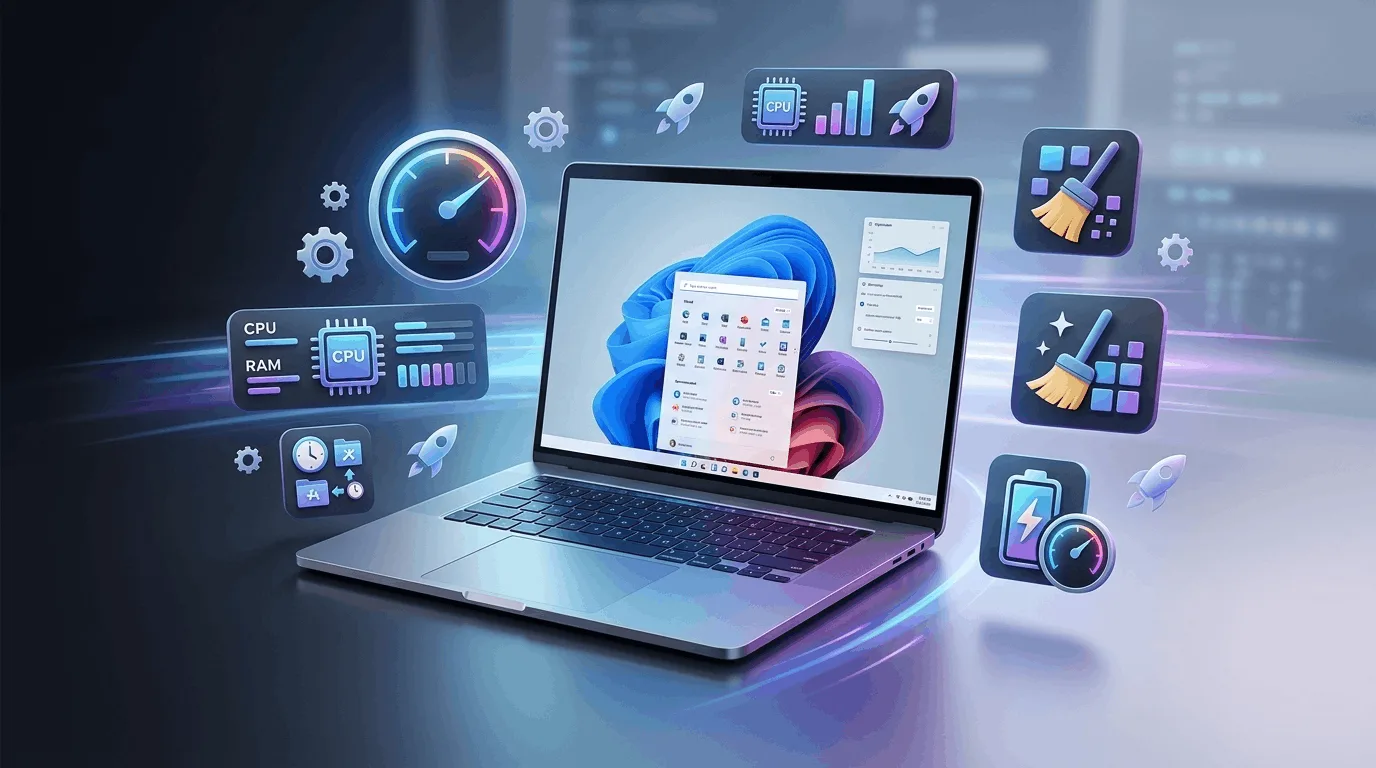
10 Hidden Windows 11 Settings That Make Laptop Faster
If your laptop has been getting slow lately, I totally understand. It is really annoying. One day everything is fine, and the next day even opening a browser feels like a struggle. The apps take their time to open. The fan kicks in. You start wondering if the laptop is just done.
I have been there too. More than once, honestly. Every time I thought, "Okay, this is it, I need a new laptop." Most of the time that was not actually true.
Windows 11 has a bunch of hidden settings that affect performance. The funny thing is most people never touch these settings. They are just sitting there doing their thing in the background. Knowing the right Windows 11 settings faster laptop adjustments can make a real difference without spending any money on hardware.
Here are the exact steps I took to speed up my laptop using built-in Windows 11 settings faster laptop adjustments that most people never discover. If storage is nearly full, start with our guide on cleaning laptop storage.
1. Startup apps: turn off the noise
When you switch on your laptop, half the apps you do not even use start running in the background. It is like they are invited to a party you did not plan. This is one of the most impactful adjustments you can make right now.
Every app that launches at startup takes a little piece of your RAM and CPU. Over time, these small pieces add up and your laptop starts dragging its feet. I once had seventeen startup apps running without even realizing it. Seventeen. No wonder my laptop took forever to boot.
What to do: Press Ctrl + Shift + Esc to open Task Manager, then open the Startup apps tab. Just disable what you do not need. Be a little selective here. If you do not need it instantly, Windows 11 does not need to start it. Keep your antivirus and any essential drivers, but everything else is fair game. You can always open these apps manually when you actually need them.
2. Storage Sense: set it, forget it
Over time your Windows 11 system collects junk files. Cache, leftovers from apps, temporary files that pile up silently. Storage Sense is one of those features that works behind the scenes without you lifting a finger after the initial setup.
What to do: Go to Settings > System > Storage and turn on Storage Sense. It quietly cleans things up in the background. You do not really notice it working, which is the point. You can also configure it to run on a schedule — daily, weekly, or monthly. I set mine to run weekly and it keeps my system feeling fresh without any manual effort. Microsoft's Storage Sense guide explains the available options.
You can also tell it which folders to target. Downloads folder, temporary files, and the Recycle Bin are all fair game. After enabling this setting, I reclaimed nearly 8GB of space on my laptop without deleting anything myself. That alone made a noticeable difference in how quickly apps launched.
3. Visual effects: looks versus speed
Windows 11 looks nice with all the animations and smooth effects. On some machines that beauty comes at a cost. Every animation, every shadow, every transparency effect uses processing power. On older laptops especially, these visual settings can be the difference between smooth and sluggish.
What to do: Search for "Adjust the appearance and performance of Windows" and choose Adjust for best performance. It feels a bit plain at first, not going to lie. But your system will feel faster. You lose the fancy animations but gain real speed. You can also review Microsoft's official power configuration documentation.
If you want a middle ground, you can manually select which effects to keep. I kept "Show thumbnails instead of icons" and "Smooth edges of screen fonts" because those matter to me visually. Everything else I turned off. The laptop responded faster immediately after making this change. It is one of those tweaks that delivers instant results.
4. Power mode: give Windows 11 a push
Windows 11 tries to balance battery and performance by default. That is fine until you want speed. The power mode setting determines how much performance your laptop is allowed to use at any given time.
What to do: Go to Settings > System > Power & battery and set the power mode to Best performance when plugged in. If you are plugged in most of the time, this one is worth it. Your laptop will use more energy but respond faster to everything you do.
On battery, you might want to keep it balanced to preserve battery life. But when you are at your desk with the charger connected, giving Windows 11 permission to use full power makes multitasking noticeably smoother. I noticed the biggest improvement when running multiple browser tabs alongside other applications.
5. Background apps: quietly eating your RAM
Some apps just refuse to stop working when you close them. They minimize to the tray and keep running in the background, consuming memory and processing power. This is another category of performance adjustments that most people overlook entirely.
What to do: Go to Apps > Installed apps, open an app's settings, and stop it from running in the background. You do not need everything running all the time. Apps like weather, news readers, and chat apps are common culprits.
I went through my entire app list and disabled background permissions for about fifteen apps I rarely used. The improvement in available memory was immediate. My laptop stopped freezing when I had multiple tabs open, and the overall responsiveness improved dramatically. This simple step is one of the most effective changes you can implement today.
6. Search indexing: helpful, but it can slow things down
Windows 11 keeps scanning your files so search results come quickly. Helpful, yes. It can also slow things down significantly, especially on older hardware or laptops with traditional hard drives. The indexing service runs constantly in the background, reading files and updating its database.
What to do: Open Indexing Options, click Modify, and remove folders you do not really search. No need to index your whole drive if you only use a few folders. I removed my Downloads folder and several large data directories from the index, and the difference in system responsiveness was noticeable within a day.
Search will still work — it just might take an extra second for less-indexed folders. That tradeoff is worth it for the performance gain. This is one of those optimizations that pays off over time as your drive grows larger.
7. Temporary files: digital clutter
These build up quietly. You do not see them, but they are there. Temporary files from Windows updates, app installations, browser caches, and system logs all accumulate over time. They eat storage space and can slow down file system operations.
What to do: Go to Settings > Storage > Temporary files and clean them up. It feels a bit like tidying your desk. You might be surprised how much space these files take up. I cleared over 4GB of temporary files the first time I checked, and my laptop felt noticeably lighter afterward.
Windows 11 gives you checkboxes to select which types of temporary files to remove. I usually select everything except "Downloads" since I might still need those files. Running this cleanup once a month keeps your system running smoothly. Combining this with Storage Sense creates a powerful maintenance routine using built-in tools.
8. Widgets: nice, but not always needed
News and weather updates are all nice, but not everyone uses them. The Widgets panel in Windows 11 loads content in the background, uses network bandwidth, and consumes resources even when you never open it. It sits on your taskbar taking up space and resources.
What to do: Right-click the taskbar > Taskbar settings > turn off Widgets. If you never open it, it is just sitting there running in the background. I turned it off and honestly did not miss it at all. I check the weather on my phone anyway.
This is one of the simplest changes you can make, and it takes about five seconds to implement. The resource savings are modest but real, especially on laptops with limited RAM.
9. Windows 11 updates: the thing everyone delays
Nobody really loves updates. They take time, they restart your computer at inconvenient moments, and sometimes they change things you were used to. But updates do matter. They fix security vulnerabilities, patch bugs, and sometimes include genuine performance improvements.
What to do: Go to Settings > Windows Update and check for updates. Some updates actually fix performance issues you did not even know were there. I once installed an update that reduced my laptop's boot time by almost ten seconds. That is a significant improvement from a single update.
I recommend setting updates to install automatically during hours you are not using your laptop. That way you never fall behind on critical patches. Keeping your system updated is one of the most fundamental Windows 11 settings faster laptop practices, and it costs you nothing but a few minutes of patience.
10. Restart: the fix people ignore
This one sounds too basic. It works more often than you would expect. A restart clears memory, stops lingering processes, and resets things that may have drifted into inefficient states. Many performance problems disappear with a simple restart.
If your laptop feels off, try this first before anything else. I have solved dozens of performance complaints just by recommending a restart. It clears temporary data, resets the network stack, and gives Windows 11 a fresh start.
Bonus: an SSD upgrade makes a serious difference
If your laptop still runs on a hard drive, switching to a solid-state drive (SSD) can change everything. It is one of those upgrades where you actually feel the difference immediately. Boot time drops, apps open faster, and the whole system just stops feeling tired.
Not exaggerating: it is probably the biggest performance boost you can get without replacing the laptop. I upgraded my old laptop from a mechanical hard drive to a 500GB SSD for about forty dollars, and it felt like a completely different machine. Boot time went from over a minute to under fifteen seconds. Application loading times were cut in half.
Common mistakes to avoid
When optimizing your laptop, avoid these pitfalls. You can also reduce browser overhead with the best Chrome extensions for productivity—but install only the ones you actually need:
Installing multiple optimization tools — these often conflict with each other and can make performance worse
Disabling essential services — only disable startup apps and background processes you truly do not need
Expecting instant miracles — some improvements are immediate, others build over time as your system stays cleaner
Ignoring hardware limitations — no amount of software optimization can fully overcome a severely outdated processor or insufficient RAM
Frequently Asked Questions
Will these settings work on any Windows 11 laptop?
Yes. All ten settings described above are available on any laptop running Windows 11, regardless of brand or hardware specifications. However, the degree of improvement will vary depending on your laptop's age, hardware capabilities, and how cluttered your system has become. Older laptops with traditional hard drives tend to see the most dramatic improvements from these adjustments.
Will turning off visual effects make my laptop look ugly?
Not necessarily. When you choose "Adjust for best performance," Windows 11 does disable most animations and transparency effects, which makes the interface look flatter. However, you can manually re-enable specific effects you care about, such as font smoothing and thumbnail previews. This gives you a good balance between appearance and speed.